I am impressed by the grand hairstyles depicted in ancient Roman sculpture. Since I know very little about modern or historical hair styling techniques, I have only ever attempted simple braided up-dos . It was fascinating to watch professional hairstylist turned experimental anthropologist Janet Stephens on Sunday as she recreated three styles from sculptures in the Getty Villa.
She demonstrated her theories for how hair was braided for management and structural support before being sewn into place to create the gravity-defying hairstyles worn by wealthy Roman women. She also described historical tools and hair products (combs, bodkins, large blunt needles, wool yarn, acacia/honey gel, almond oil/beeswax hair wax). Her answers to questions from the audience demonstrated her knowledge of Roman cultural practices and the role hair and hair styling played in society. High-status Roman women always needed to appear fashionable in public and had multiple slaves dedicated to making that happen.
Two of the models had mid-back length hair and their styles were entirely constructed with their own locks.
The first hairstyle was based on a portrait bust from the 2nd Century CE. The hairstyle was a copy of one worn by Empress Faustina, wife of the emperor Antoninus Pius.

To create the style, Ms. Stephens started by dividing the hair into three sections (top of head in front of crown, top of head behind crown, and back of head. She braided the top-back section and then, starting from the end, coiled it into the hollow tower structure that would sit on the top of the head. To keep the coiled tower from falling apart, she stitched the coils together with wool yarn she had attached to the end of the braid in place of a modern elastic band. Then, she sewed the tower to the hair at the scalp to anchor it in place. She braided the lower back section and attached another piece of wool yarn to the end of it. Before wrapping the lower back braid around the tower, she wrapped the top-front section of hair around a wool cord tied around the head. When wrapping, each chunk of hair was wrapped and then a small bit was wrapped again with the next section to create the divisions depicted on the original sculpture. Finally, she pulled the lower back braid up, wrapped it around the tower, tucked the end in, and stitched it in place to keep is secure.
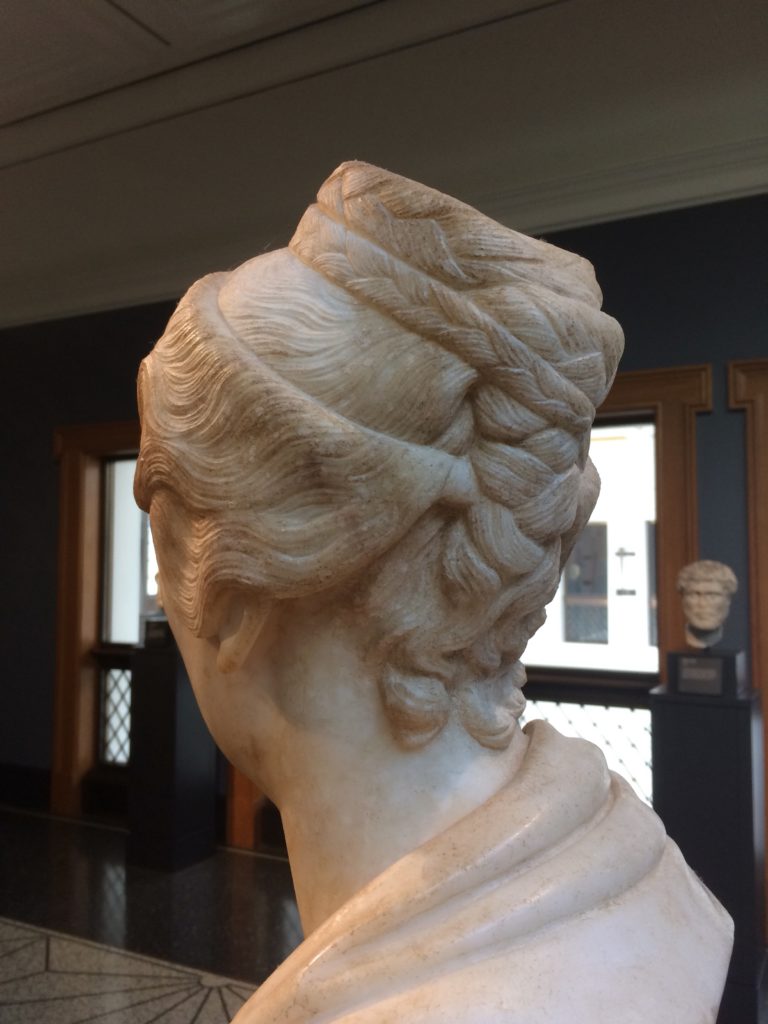
The second hairstyle was based on a portrait head of Plautilla from the 3rd Century CE.

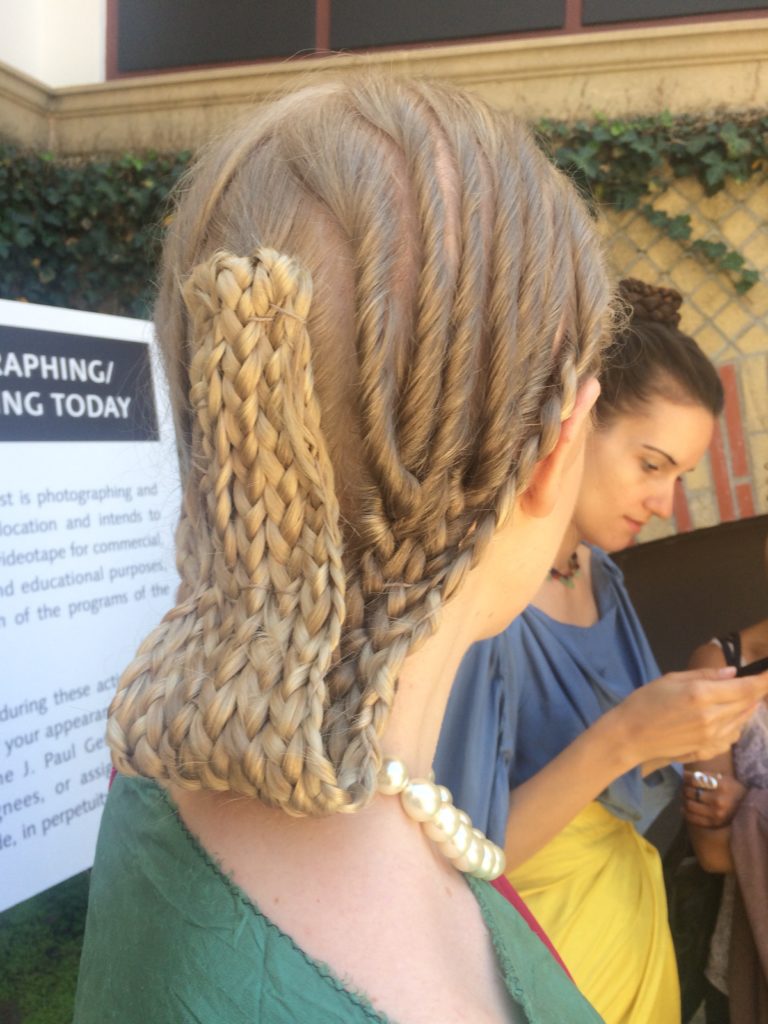
The key to this style is the french braid hidden underneath the braid panel. That french braid acts as an anchor for the panel and was created from about 2″ of the center back hair. Ms. Stephens divided the rest of the hair into 18 sections, 9 per side. She tightly twisted each section until it reached the edge of the scalp. When she had three twists done, she braided them together. When all 7 braids were ready (3 per side and the 1 anchor braid in the back), she laid them side-by-side and stitched them together into a solid panel. She then folded the panel up and sewed it to the top of the hidden anchor braid. To keep the braids against the back of the head as depicted in the statue, she tacked the braid panel to itself at the nape of the neck.
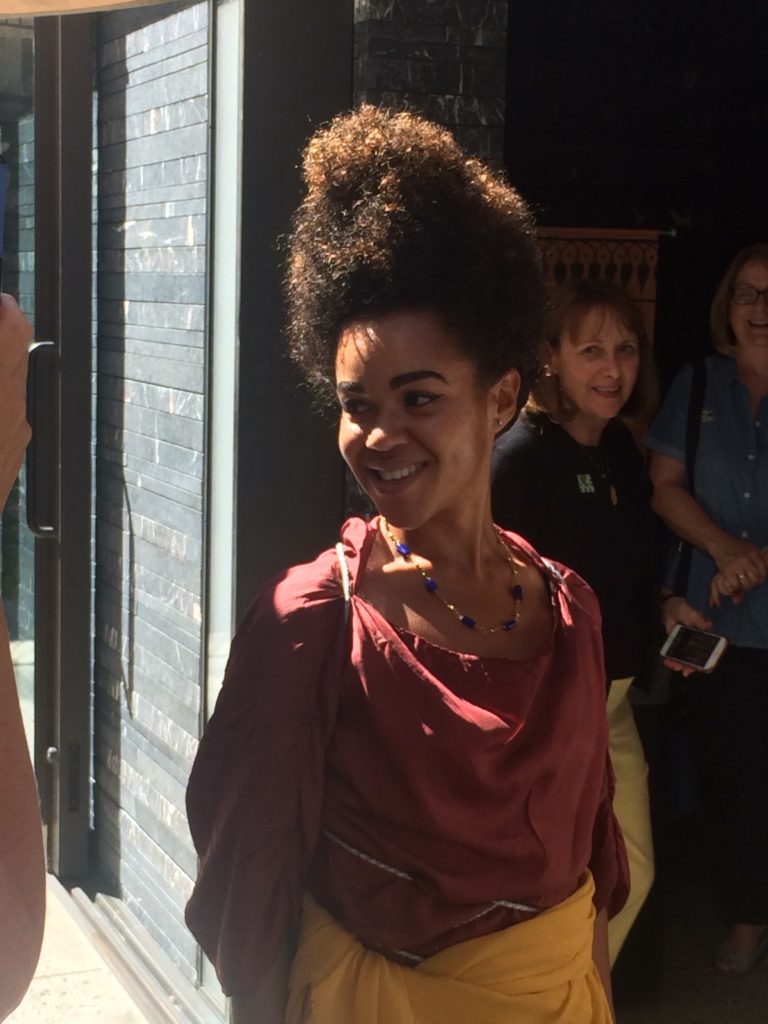
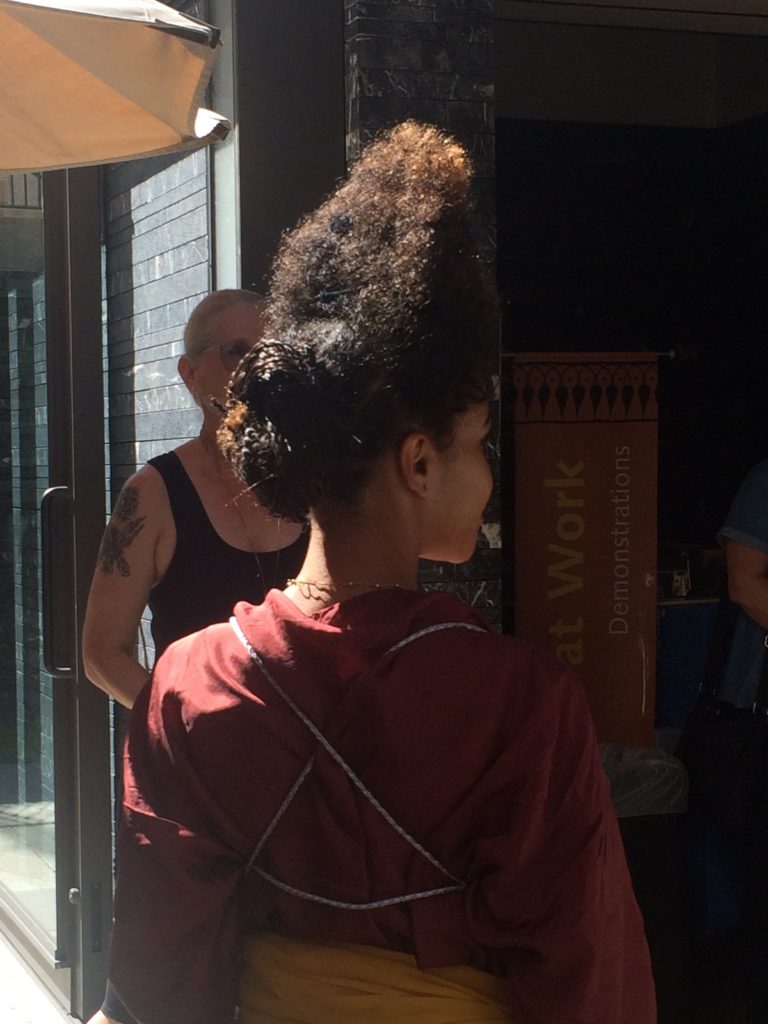
The third hairstyle was from a bust of a Flavian woman from the 1st Century CE.


Ms. Stephens started by dividing the hair across the top of the head at the ear line. She braided the back half of the hair into many small braids. Since the model’s hair was only about shoulder length, the braids were not long enough to create a large braided bun. So she tied a bundle of false hair braids to the natural hair before coiling them into a bun and stitching it in place with wool yarn of the same color as the hair. With the hair coiled into the bun, you could not see the join between the natural hair and the extension. Hair extensions were used in a similar manner by wealthy Roman women if they could not grow hair long enough for the fashionable style of the day. For the curls in front, she heavily teased most of the hair to create the basic shape and structure. She left the ends of the hair unteased since their natural curl mimicked the curls on the front of the statue. Then, to make the style secure, she sewed the various sections of teased hair together, tweaking the final shape of the style as she went. The lighting in the photos below doesn’t do justice to the front curls. While not quite the precise ringlets from the sculpture, they definitely looked more like “curls” and less like a mass of hair.
I learned a lot watching Ms. Stephens create these styles with skill and ease, and I foresee spending time watching through the videos on her YouTube channel in the near future.
She also provided directions for a simplified version of the second style:


While I now understand more about Roman hairstyling, even this simplified version might be more complex than I want to routinely tackle before an SCA event. Especially if I’m trying to wrangle my own hair rather than watching in a mirror while a trained stylist does it.
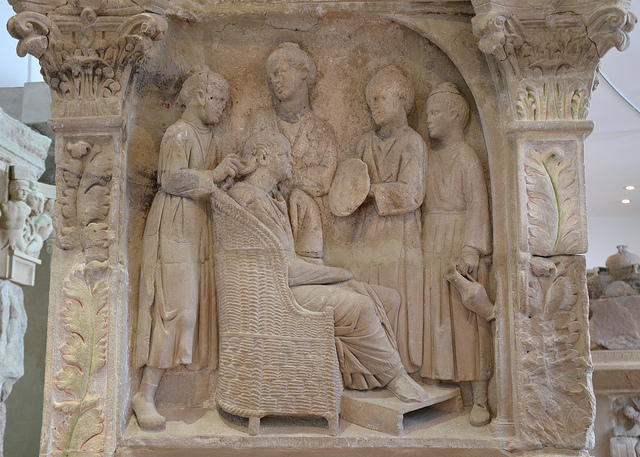
Funerary relief from Neumagen c. 220 CE, Rheinisches Landesmuseum Trier, Germany.
Photo by Carole Raddato